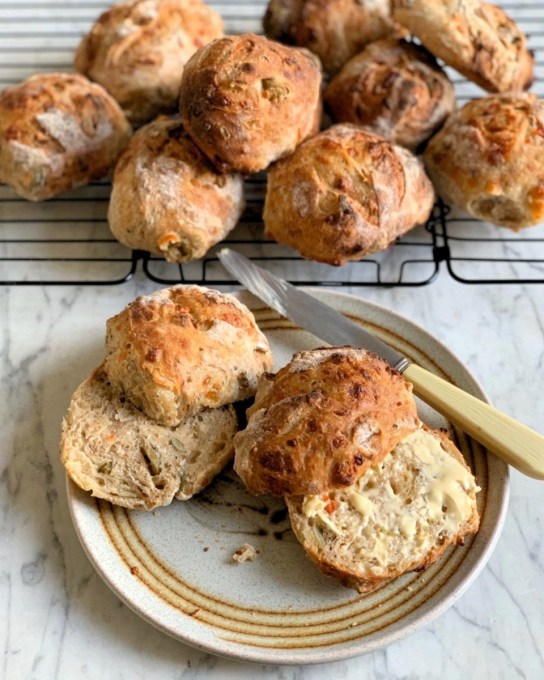
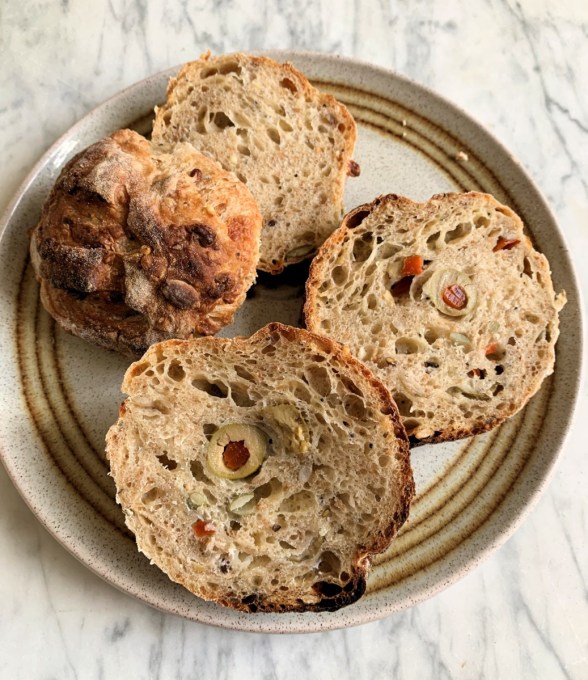
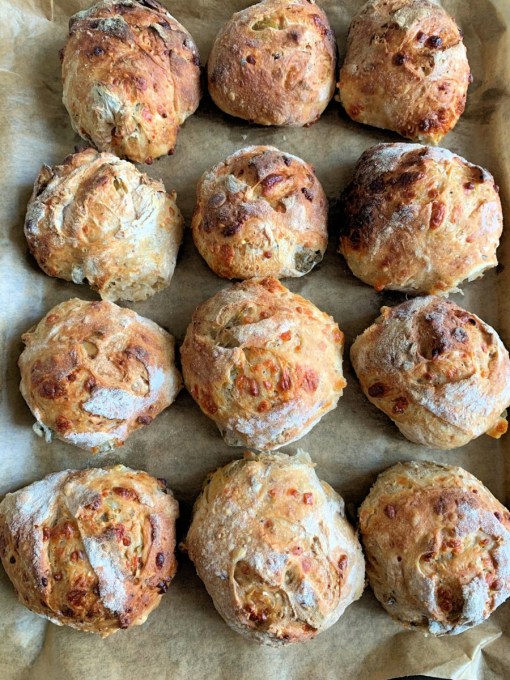
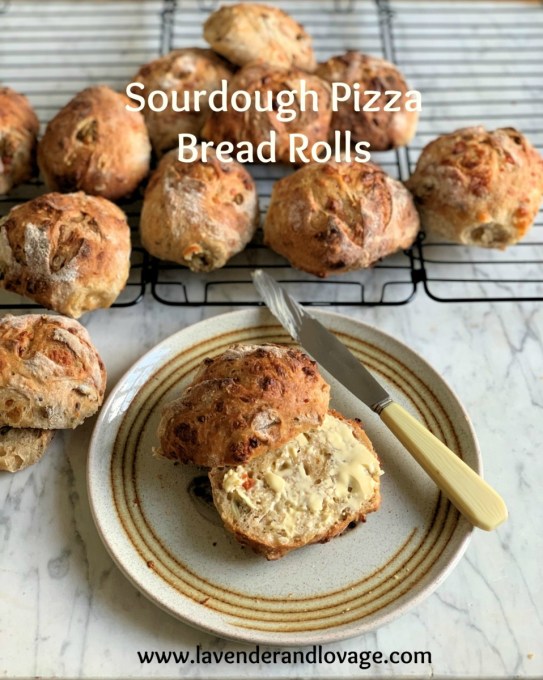
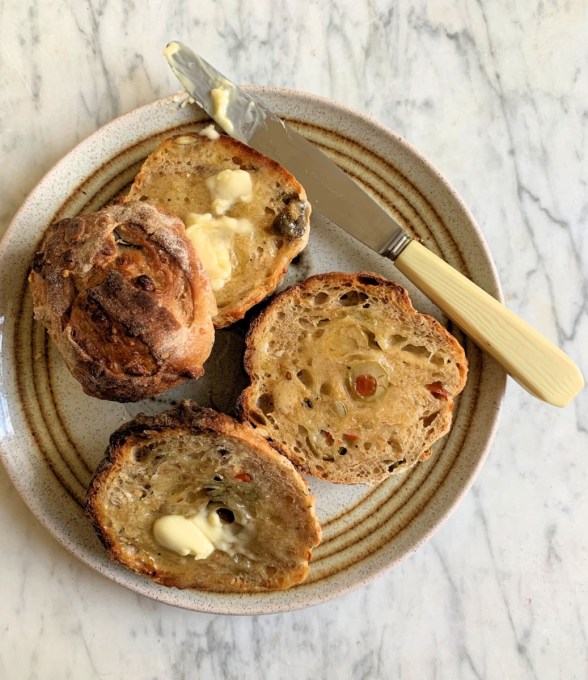
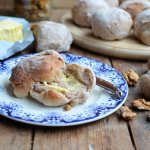
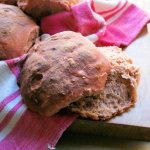
Sourdough Pizza Bread Rolls: These little Sourdough Pizza Bread Rolls are easily made with a standard batch of my Classic Sourdough Bread made Easy, but using 200g of Strong Malted Seeded bread flour for a nutty taste and texture. Simply add Mozzarella cheese, chopped pimento-stuffed olives and oregano in the last folding procedure, before leaving overnight to prove, and the baked results taste just like pizza. These Sourdough Pizza Bread Rolls are wonderful when used as a vehicle for all manner of sandwiches, and are delicious when toasted the next day.
Real Bread Week 2020
My latest sourdough recipe for Sourdough Pizza Bread Rolls have been made to celebrate Real Bread Week 2020. Their very informative and interesting website says “The Real Bread Campaign’s annual, international celebration of additive-free loaves* and people who make them returns from 22 February to 1 March 2020 for its 11th year.” And, their aims are to “Buy Real Bread from local, independent bakeries: Look for The Loaf Mark! and to Bake their own Real Bread” which I am more than happy to do. I love making bread, and luckily I have a real affinity with yeast and wild yeast, probably as I was exposed to two generations of amazing bread makes, through my mum and my maternal grandmother.
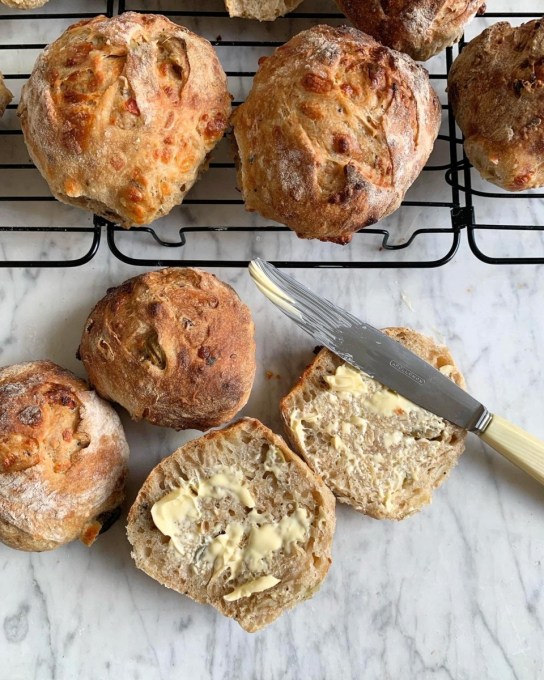
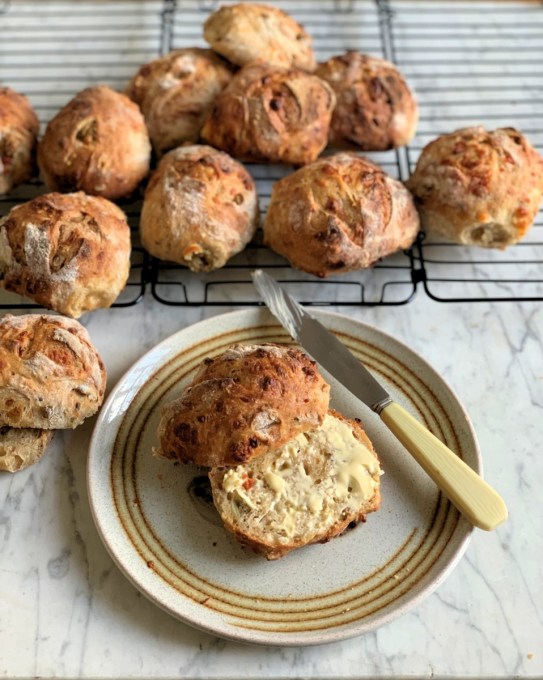
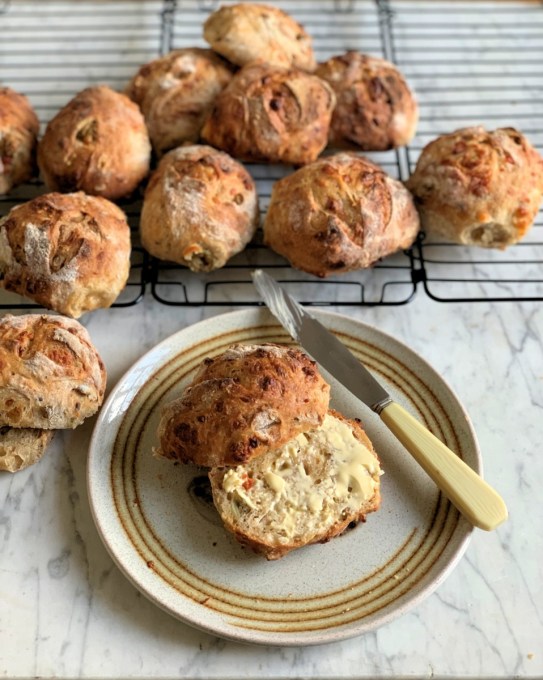
Today’s latest recipe for Sourdough Pizza Bread Rolls is a fabulous way to showcase “real bread”, these little Sourdough Pizza Bread Rolls are easily made with a standard batch of my Classic Sourdough Bread made Easy, but using 200g of Strong Malted Seeded bread flour for a nutty taste and texture. Simply add the grated Mozzarella cheese, chopped pimento-stuffed olives and oregano in the last folding and turning procedure, before leaving overnight to prove, and the baked results taste just like pizza. These Sourdough Pizza Bread Rolls are wonderful when used as a vehicle for all manner of sandwiches, and are delicious when toasted the next day.
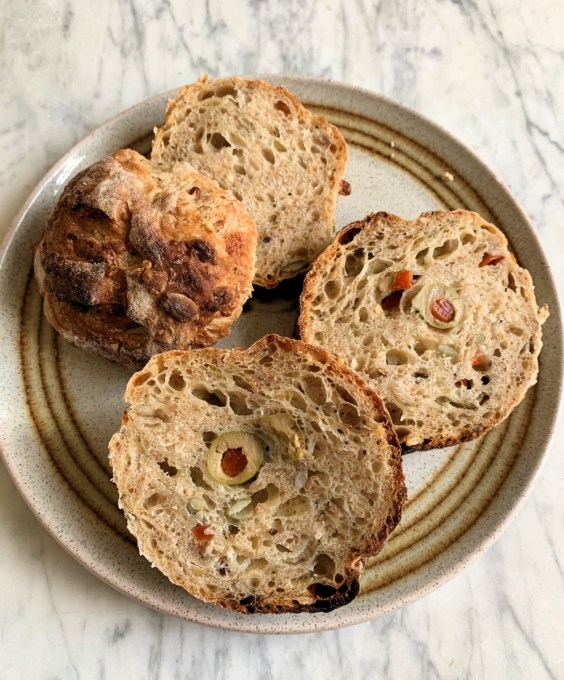
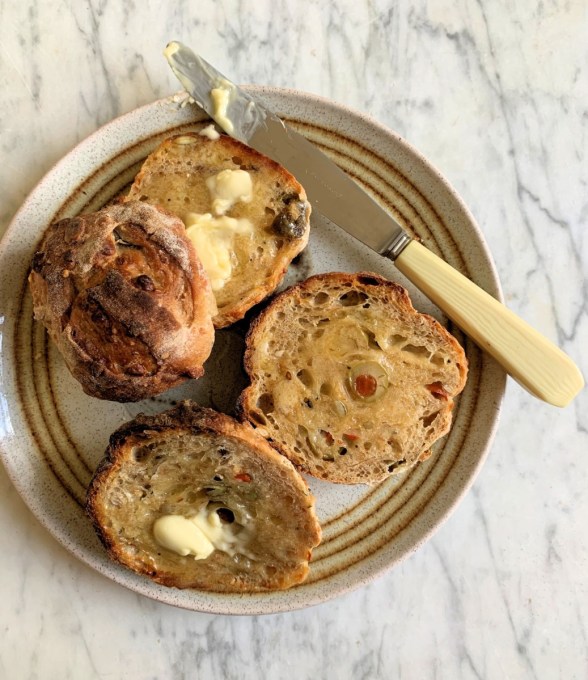
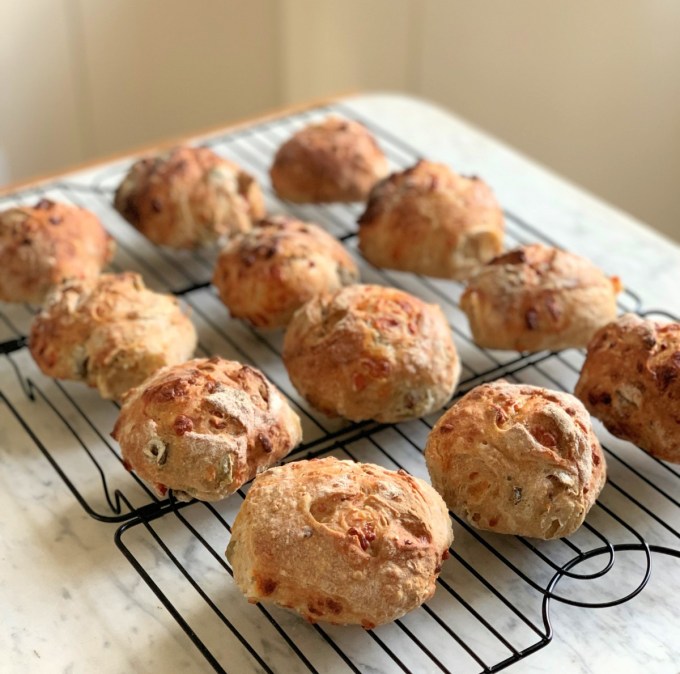
The malted brown flour is packed with sunflower seeds, pumpkin seeds, millet, brown linseed and poppy seeds for an extra texture and nutty taste, which we all love in this recipe. Thus far we have enjoyed these sourdough rolls warm, spread with butter just after baking, with sliced tomatoes and ham in a cheeky late night sarnie, and for breakfast, toasted with lashings of butter and a cup of tea. I actually made a Baker’s Dozen when I last made a batch of these bread rolls, which is 13. Why 13 you may ask? Well it’s all down to medieval baking history apparently. Bakers were publicly flogged or fined, and to make sure that they weren’t caught out, they often threw in an extra roll or added more to the weight of a loaf, just to be in the safe side!
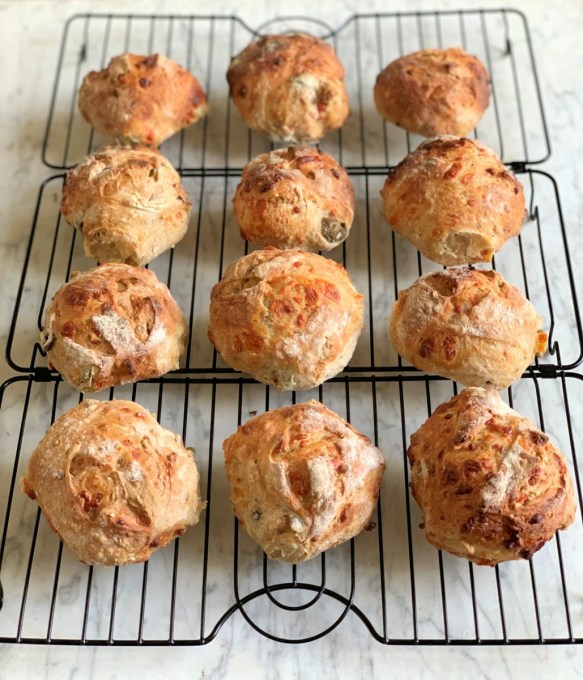
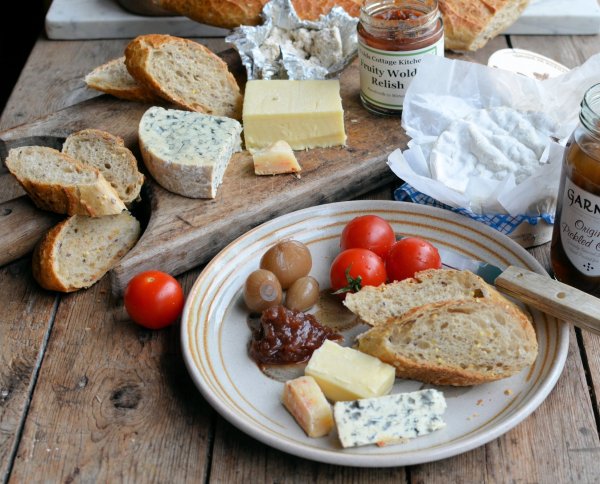
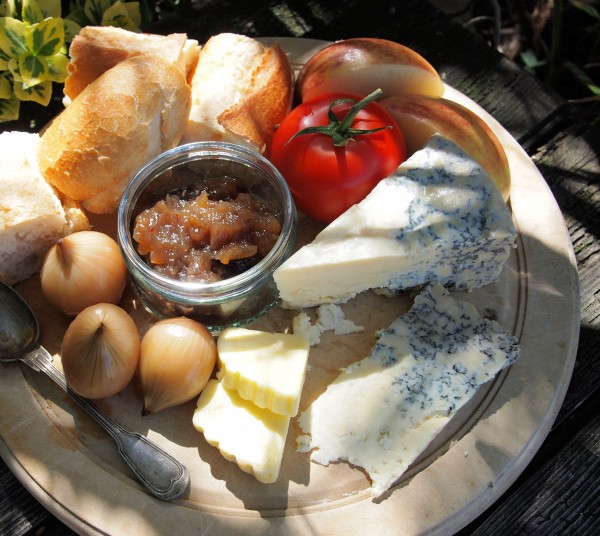
My Real Bread Week recipe for Sourdough Pizza Bread Rolls is shared below, along with some more bread recipes, all of them real bread with no additives from the Lavender & Lovage archives. Please let me know if you make this recipe, and how you served them…..they would also be wonderful when served alongside soup, stews and casseroles, or, as part of a Ploughman’s Lunch. See you soon with some fabulous Welsh recipe ideas just in time for St David’s Day on the 1st of March, Karen
PIN ME!
MORE BREAD RECIPES
Cheese, Fennel and Sun-Dried Tomato Sourdough
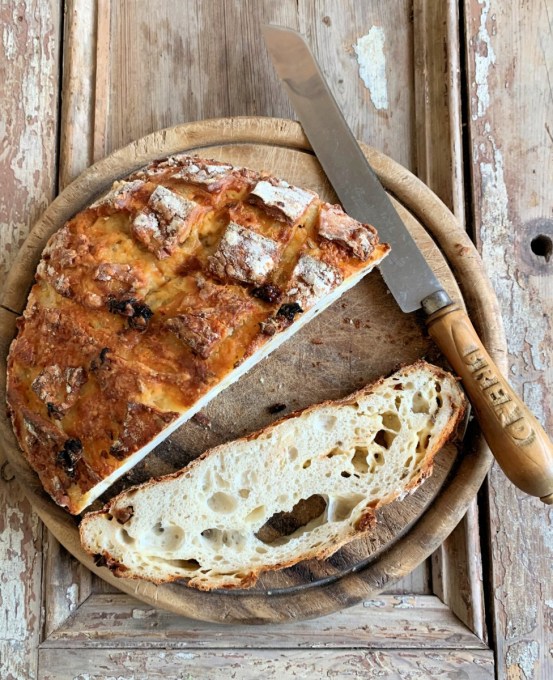
Cheese, Fennel and Sun-Dried Tomato Sourdough – A delicious cheesy sourdough bread with the added warmth of aromatic fennel seeds and juicy sun-dried tomatoes. Makes the most amazing toast as well as “soup dunking” bread.
Traditional Sourdough Couronne Bordelaise
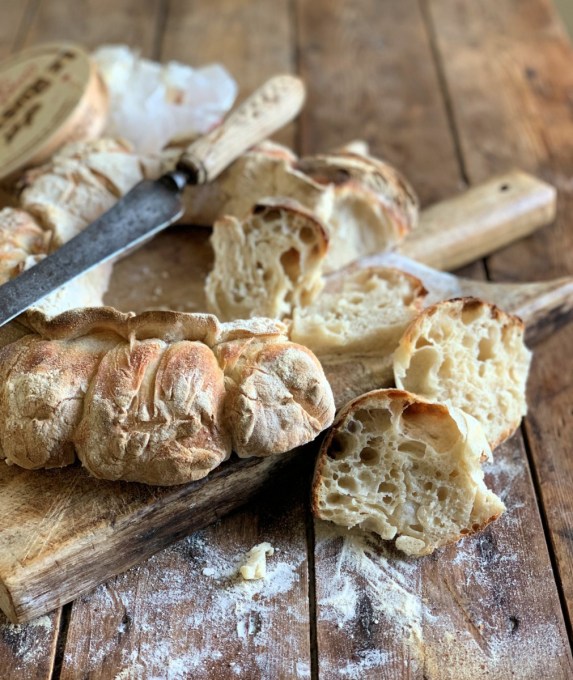
Traditional Sourdough Couronne Bordelaise: A traditional bread from the area Bordeaux in SW France. This “Crown” bread is proved & shaped in a special “Couronne” banneton wicker basket. It’s a great shaped bread to serve for any buffet or cheeseboard, as a cheese, such as a boxed Camembert, can be placed in the middle.
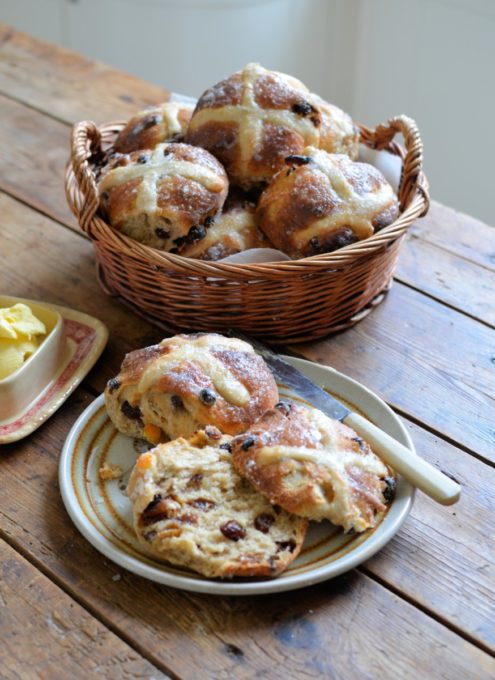
Easy No Knead Sourdough Hot Cross Buns
Easy No Knead Sourdough Hot Cross Buns – These no-knead sourdough hot cross buns take 24hrs to make, from start to finish, but it’s all passive time. I use a mix of Wholemeal Spelt and White Flour for a lovely nutty taste and texture.
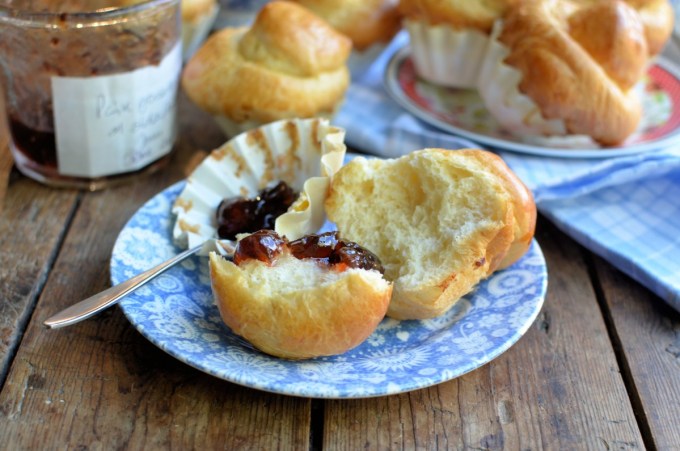
Brioches à Tête for a Lazy Weekend Brunch or Breakfast
These delicious, buttery little Brioches à Tête are easy to make and are popped in the fridge overnight for a slow first rise, all ready to bake next morning for breakfast or brunch. Swerve them with butter, jam, preserves and a big pot of fresh coffee for a classic French treat. Once baked they freeze well.
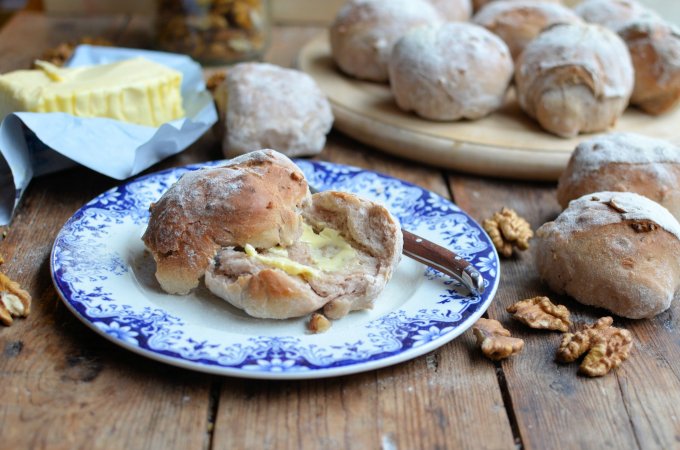
Country Style Walnut Bread Rolls
Wonderful rustic walnut bread rolls that are perfect as a vehicle for all sorts of fillings such as ham, cheese and pate, as well as being perfect when just served warm with butter. Serve with soups, stews, casseroles and hot-pots as well as using them for hearty sandwiches.
Sourdough Pizza Bread Rolls Recipe
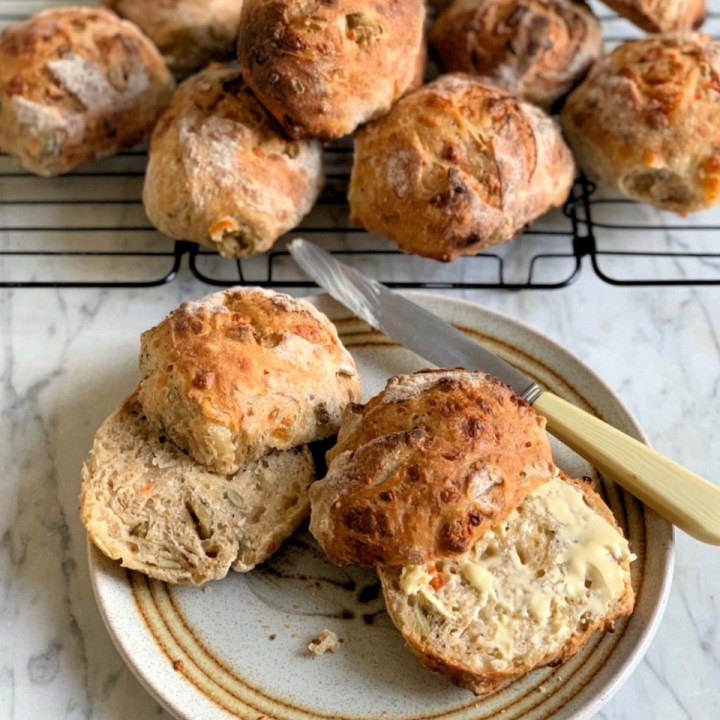
Sourdough Pizza Bread Rolls
These little Sourdough Pizza Bread Rolls are easily made with a standard batch of my Classic Sourdough Bread made Easy, but using 200g of Strong Malted Seeded bread flour for a nutty taste and texture. Simply add Mozzarella cheese, chopped pimento-stuffed olives and oregano in the last folding procedure, before leaving overnight to prove, and the baked results taste just like pizza. These Sourdough Pizza Bread Rolls are wonderful when used as a vehicle for all manner of sandwiches, and are delicious when toasted the next day.
Ingredients
- 60g recently fed sourdough starter
- 10g teaspoon sea salt
- 320ml tepid filtered water (or boiled water)
- 300g strong white bread flour
- 200g strong malted seeded bread flour
- 125g grated mozzarella cheese
- 75g drained, chopped pimento-stuffed green olives
- 2 teaspoons dried oregano
- Rice flour (for dusting)
Instructions
1. 2 to 3 hours before you want to start your sourdough bread, take the starter out of the fridge and feed it with 40g filtered water and 40g strong white bread flour. Mix well, cover with cling film (or a shower cap) and set to one side to start working. After 2 to 3 hours the starter should be frothy and light with lots of bubbles and it may be making a noise, as in singing! It's now ready to use. Put the covered starter back in the fridge until it is needed next time you want to bake.
2. Place a bowl onto some digital scales and set the tare to zero. Add 60g of sourdough starter and set the tare to zero again; then add the salt and water, again, I find it easier to set the tare to zero before adding both flours. Take the bowl off the scales and mix well, it will look rough and lumpy, but never fear it will soon start to look like bread dough! Cover the dough with cling film/shower cap and set to one side.
3. After an hour, uncover it and with your hands, bring the dough from the outside, and fold it into the middle. Do this for about 15 to 20 times - I find it is easier if I rotate the bowl at the same time. Cover it and set to one side.
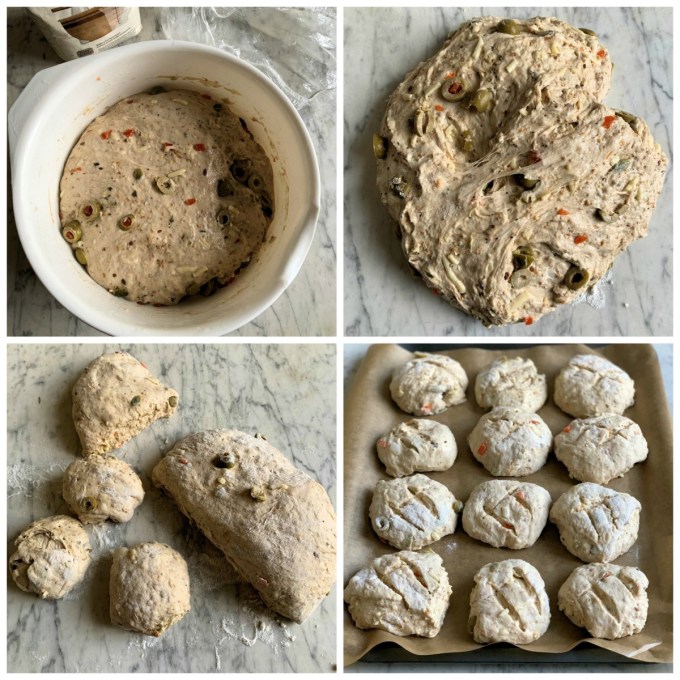
4. Do the folding and turning action two or three more times over the next few hours, adding the cheese, olives and oregano the third time you fold and turn, by this time the dough will be smooth, elastic and sticky. I start this at about 3pm to 4pm and the dough is ready at about 8pm to 9pm.
5. Once the dough is smooth and elastic (see above) and it will have risen by now too, cover the bowl with cling film or a shower cap and set to one side in a cool place to prove overnight. (I use my pantry which is about 10 degrees C in the winter)
6. In the morning, the dough will have risen overnight and you will have a large, round ball of smooth dough that's ready to bake after the buns have been shaped. Pre-heat the oven to 200C/190C Fan/400F/375F Fan/Gas mark 6 and line a large baking tray/sheet with non-stick baking parchment.
7. Turn out the dough onto a lightly floured work surface and divide it into 12 equal pieces. Roll each piece into a ball, then flatten slightly into a bun shape using the palms of your hands. Place the buns onto the prepared baking tray/sheet and score the tops of the rolls with a lame or razor.
8. Bake the buns in the pre-heated oven for 30 minutes, or until they are well risen, golden-brown, and when they are turned over and tapped underneath they sound hollow. Remove them from the oven and then set aside to cool on a wire rack.
9. Serve warm, split and spread with butter, or serve toasted, split and spread with butter. The cooked buns can be frozen for up to 3 months; allow 6 hours for them to defrost and serve as above. They make wonderful sandwiches too, especially with Italian ham and tomatoes.
Notes
You can also add sun-dried chopped tomatoes along with the cheese, olives and oregano. The malted brown flour is packed with sunflower seeds, pumpkin seeds, millet, brown linseed and poppy seeds for an extra texture and nutty taste.
Recommended Products
As an Amazon Associate and member of other affiliate programs, I earn from qualifying purchases.
Nutrition Information
Yield 12 bread rolls Serving Size 1Amount Per Serving Calories 222Total Fat 3gSaturated Fat 2gTrans Fat 0gUnsaturated Fat 1gCholesterol 8mgSodium 395mgCarbohydrates 40gFiber 2gSugar 0gProtein 8g
Nutrition information is an approximate calculation based on the ingredients listed and it can vary according to portion sizes and when different ingredients are used.



johanna @ green gourmet giraffe says
These sound wonderful – I really need some bread inspiration – between busy times and summer’s heat it hasn’t been great bread baking times but I really want to try these!
Karen Burns-Booth says
Thanks Johanna, these are the perfect hot weather bread rolls to make, as it’s all passive time, and no kneading and messing around in the hot kitchen! You will need to prove them overnight in the fridge though, the dough that is. Hope all is well with you in Australia, Karen xxx
Bullion Butter says
Hi Karen, these look wonderful! We can’t wait to try them. We’ve created a flavoured butter that would go amazingly with this recipe!
Karen Burns-Booth says
That sounds delicious! I will pop over to look, Karen
Ray W says
Your buns look good. For myself, I would add some pizza sauce and use pepperoni instead of olives.
And also use some parmesan cheese too. And what the heck, throw in some fresh minced garlic.
Karen Burns-Booth says
All good ideas, but not veggie friendly and I was just working with what I had to hand at the time!
I have made these again with garlic and different cheeses as well as adding a few bits of salami too.
Rachel says
Thank you for this lovely recipe inspiration. For anyone using the Ninja 15 in 1 (I came to this recipe through the Ninja link). I used 20 mins on the Steam Bread setting and they cooked nicely with a crusty crust and hollow sound when tapped … I had to do 2 batches though as I could only fit 6 in my crisp basket and wasn’t sure whether 2 layers on the two tier rack would work. I wonder whether anyone else has tried that ?
Rachel Eastwood says
Whoops sorry I can’t edit the above … It remember I settled on 19mins at 180C
Karen Burns-Booth says
Thank you so much for adding this really handy informartion for baking in the Ninja Foodi! 🙂
I have a bread recipe that I baked in my 14-in-1 here:
Sourdough Bread in the Ninja Foodi
Such handy appliances aren’t they?
Karen